
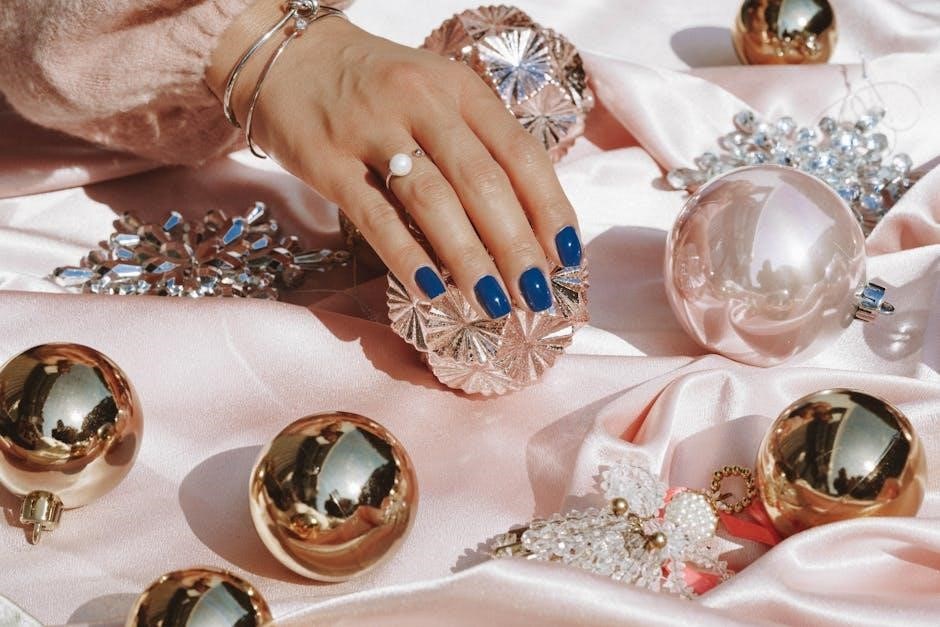
Discover the easy steps to achieve salon-quality gel nails at home. From preparation to finishing touches, learn how to apply gel polish like a pro with these simple tips!
Step-by-Step Preparation for Gel Nails
Trim, buff, and shape your nails to desired form. Gently push back cuticles and clean nails thoroughly for a smooth, professional gel application finish at home.
Shaping Your Nails
Shaping your nails is the first step in achieving professional-looking gel nails at home. Use a nail file to trim and shape your nails to your preferred length and style. Whether you opt for a classic round shape, a trendy square tip, or a bold stiletto, ensure the edges are smooth and even. Always file in one direction to avoid weakening the nail. After filing, gently buff the surface to create a smooth base for the gel polish. This step is crucial as it ensures proper adhesion of the gel and helps prevent peeling. Remember, precise shaping sets the foundation for a flawless gel application.
Buffing Your Nails
Buffing your nails is essential for creating a smooth surface and ensuring proper adhesion of the gel polish. Use a nail buffer to gently remove ridges and imperfections. Start with a coarse grit (about 100-150) to shape and smooth the nail, then switch to a finer grit (220-240) for a high-shine finish. Be careful not to over-buff, as this can weaken the nail. Buffing also helps remove oils and residue, creating a clean canvas for the gel base coat. This step is crucial for a long-lasting, professional finish. Remember to buff in one direction only to avoid damaging the nail plate. A well-buffed nail ensures the gel adheres evenly and lasts longer without chipping.
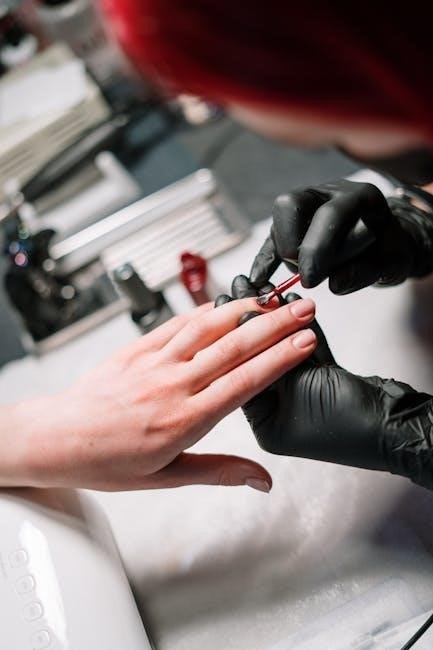
Pushing Back Cuticles

Pushing back your cuticles is a crucial step in preparing your nails for gel polish. Use a cuticle pusher or an orange stick to gently push back the cuticles, taking care not to cause irritation or bleeding. Soak your fingers in a bowl of warm water or apply cuticle oil to soften the cuticles first, making them easier to push back. Be gentle, as rough handling can lead to infections or discomfort. This step ensures the gel polish adheres properly and creates a clean, professional finish. Avoid over-pushing, as this can damage the delicate skin around your nails. Properly pushed-back cuticles also prevent gel polish from lifting prematurely, ensuring a longer-lasting manicure.
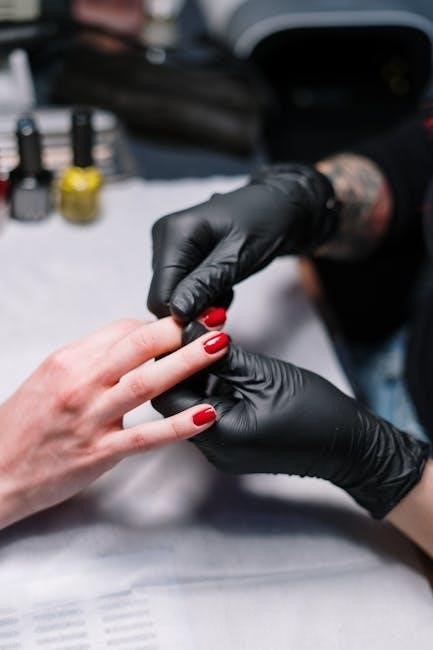
Cleaning Your Nails

Cleaning your nails is essential for ensuring proper adhesion of the gel polish. Use a lint-free wipe or cotton ball soaked in nail cleanser, acetone, or rubbing alcohol to thoroughly clean each nail surface. This step removes oils, residue, and moisture, which can interfere with the gel polish’s ability to adhere. Gently wipe across the nail, starting from the center and moving outward toward the tips. Be sure to clean around the cuticles and under the nail edges as well. Avoid touching the cleaned nails with your fingers, as the natural oils from your skin can compromise the adhesion. A clean, dry surface ensures a strong bond between the nail and the gel polish, leading to a longer-lasting manicure. This step is crucial for achieving a professional-quality finish.
Applying Gel Nail Polish
Applying gel nail polish involves thin, even layers for a smooth finish. Cure each layer under UV or LED light for durability and a professional look.
Applying Base Coat
Applying a base coat is essential for a long-lasting gel nail finish. Start by gently brushing a thin layer of clear base coat across your nail surface, ensuring full coverage. Avoid getting the base coat on your cuticles or skin, as this can lead to peeling. Once applied, cure the base coat under a UV or LED lamp for the recommended time, usually around 30 seconds to a minute, depending on the brand. This step helps protect your nails and creates a smooth foundation for the gel polish to adhere to. A properly cured base coat ensures better durability and prevents staining. Make sure the base coat is completely dry before moving on to the next step.
Applying Gel Nail Polish in Thin Layers
Applying gel nail polish in thin layers is crucial for a smooth, even finish. Start by dipping the brush into the polish bottle, wiping off any excess on the rim. Paint a thin layer, beginning at the center of your nail and sweeping the brush from cuticle to tip. Ensure complete coverage but avoid overloading the brush, as thick layers may not cure properly. Repeat for each nail, then cure under the UV or LED lamp according to the polish instructions, typically 30 seconds to a minute. After curing, inspect the coverage. If necessary, repeat the process for a second thin layer. Thin coats ensure better adhesion and prevent peeling, resulting in a professional-looking finish. Allow each layer to cure fully before applying the next to maintain durability and a glossy appearance.
Curing the Gel Polish
Curing the gel polish is a critical step to ensure durability and a glossy finish. Place your hand under the UV or LED lamp, positioning your nails directly under the light source. The curing time typically ranges from 30 seconds for LED lamps to 2-3 minutes for UV lamps, depending on the lamp’s intensity and the polish brand. Always refer to the manufacturer’s instructions for precise timing. For even curing, keep your hand steady and avoid moving during the process. If your lamp has a timer, use it to ensure consistency. After curing, the polish should be completely hardened and have a smooth, shiny surface. Proper curing prevents the polish from remaining tacky and promotes long-lasting wear. Once cured, proceed to the next step to finish your gel nail application. This step is essential for achieving a professional-quality finish at home.
Finishing Touches
The final steps involve sealing your gel polish with a top coat, curing it under the lamp, and cleaning up any excess polish with alcohol for a polished look.
Applying Top Coat
After curing your gel polish, it’s time to seal it with a top coat. Dip your brush into the top coat bottle, wiping off any excess on the rim. Paint a thin, even layer across each nail, ensuring full coverage. Make sure to cap the free edge by running the brush along the tip of your nail to prevent chipping. Avoid applying too much, as this can lead to a sticky finish. Once applied, place your hands under the UV or LED lamp to cure the top coat according to the manufacturer’s instructions, typically 30 seconds to a minute. For a professional finish, use a lint-free wipe or cotton swab dipped in alcohol to clean up any excess polish around your cuticles or nail bed.
Curing the Top Coat
After applying the top coat, place your hands under the UV or LED lamp to cure the layer. The curing time depends on the type of lamp you’re using—typically 30 seconds for LED lamps and 1-2 minutes for UV lamps. Ensure your fingers are evenly spaced and not touching each other to avoid smudging. Keep your hands steady and avoid moving until the curing process is complete. Once cured, the top coat will harden, leaving a glossy, professional finish. If using a UV lamp, be cautious as the light can cause skin irritation if exposed for too long. Proper curing ensures long-lasting results and prevents chipping; Always follow the manufacturer’s instructions for specific curing times to achieve the best outcome.
Cleaning Up with Alcohol
Once the top coat is cured, use a lint-free wipe or cotton ball soaked in rubbing alcohol to gently clean around your cuticles and nail edges. This step removes any excess gel polish that may have gotten on your skin and prevents smudging. Dip the cotton ball in alcohol and carefully wipe around each nail, ensuring not to touch the polished surface. Avoid getting alcohol directly on your cuticles or skin, as it can dry them out. This final clean-up ensures a crisp, professional finish and prevents any residue from interfering with the gel’s adhesion. After cleaning, your nails should look neat and polished, ready for a long-lasting, salon-quality finish. Inspect your nails to ensure no smudges or streaks remain before finalizing.
Additional Tips for a Professional Finish
Apply cuticle oil for hydration and a final inspection to ensure a polished look. These extra steps enhance durability and maintain a salon-quality appearance at home.

Applying Cuticle Oil
Applying cuticle oil is a crucial final step for a professional finish. Gently massage a small amount of cuticle oil onto your cuticles and nail beds. This helps hydrate the skin, promoting healthy nail growth and preventing dryness. Use a cuticle oil rich in nutrients like vitamin E or jojoba oil for the best results. Ensure the oil is evenly distributed, but avoid getting it on the gel polish. This step not only enhances the appearance of your nails but also helps maintain the health of your cuticles. For optimal results, apply cuticle oil after finishing your gel nail application and as part of your regular nail care routine. This simple addition can make a significant difference in the overall quality and longevity of your gel nails.
Final Inspection and Touch-Ups
After completing your gel nail application, perform a final inspection to ensure a polished finish. Use a lint-free wipe or cotton ball dipped in alcohol to clean any excess polish from around your cuticles or skin. Check for any smudges or uneven areas that may need touch-ups. If necessary, apply a small amount of gel polish to correct any mistakes. Cure the touch-ups under the UV or LED lamp according to the manufacturer’s instructions. Once satisfied, apply a thin layer of cuticle oil to hydrate your nails and cuticles. This step not only enhances the appearance of your nails but also helps maintain their health. A final inspection ensures your gel nails look professional and flawless, completing the process with a salon-quality finish.